- Tue 25 May 2010
- Tips and Tricks
- Rick Jones
A great feature of Cartographica is the ability to add features to a map. This gives you the ability to quickly create new layers and add information to already existing layers. In conjunction with Cartographica's table tools (add coordinate, length, and area columns) the Add Feature option allows you to quickly georeference new layers, and it also can provide valuable information about the space used by the layer you created. These bits of information are important so that you can verify that the layer you created is a valid representation of the object being represented.
The Add Feature option is a spectacular tool that gives you freedom in editing and designing new spatial layers. The ability to quickly add new layers and then directly edit both their spatial characteristics and their table data provides enormous opportunities for spatial analysis. Creating new layers can contribute to both point level and aggregate analysis. Also creating your own layers provides a wide range of opportunities for individual users to produce their own data, which means you could significantly impact the availability of spatial data for areas and places that were not previously available.
One great new way to get utilize the Add Feature tool is to combine it with the use of live maps. In the example below we want to create a new feature that represents the Ronald Reagan Washington National Airport near Washington D.C. We can do this by simply adding a series of points around the main structure of the airport to make a polygon. Then we can use Add Feature again to add a line feature to create a line layer that represents the runways. Something that should be pointed out about the Add Feature tool is that users can choose whether they want their layer to be point, line, or polygon. In the case of our D.C. water example we are going to choose to turn our new layer into a polygon.
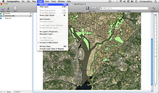
The first step in this example is to Add all of the data needed which in this case is the D.C. basemap, the parks layers, and then we want to add a live map using the Add Live Map tool found under File. We want to choose an areal image obtained from Bing. Then we want to focus on the Ronald Reagan International Airport so that we can use the Bing map to help use trace the outline of the airport with our Add Feature tool
-
Ronald Reagan International Airport Viewed with Live Bing Map\
-
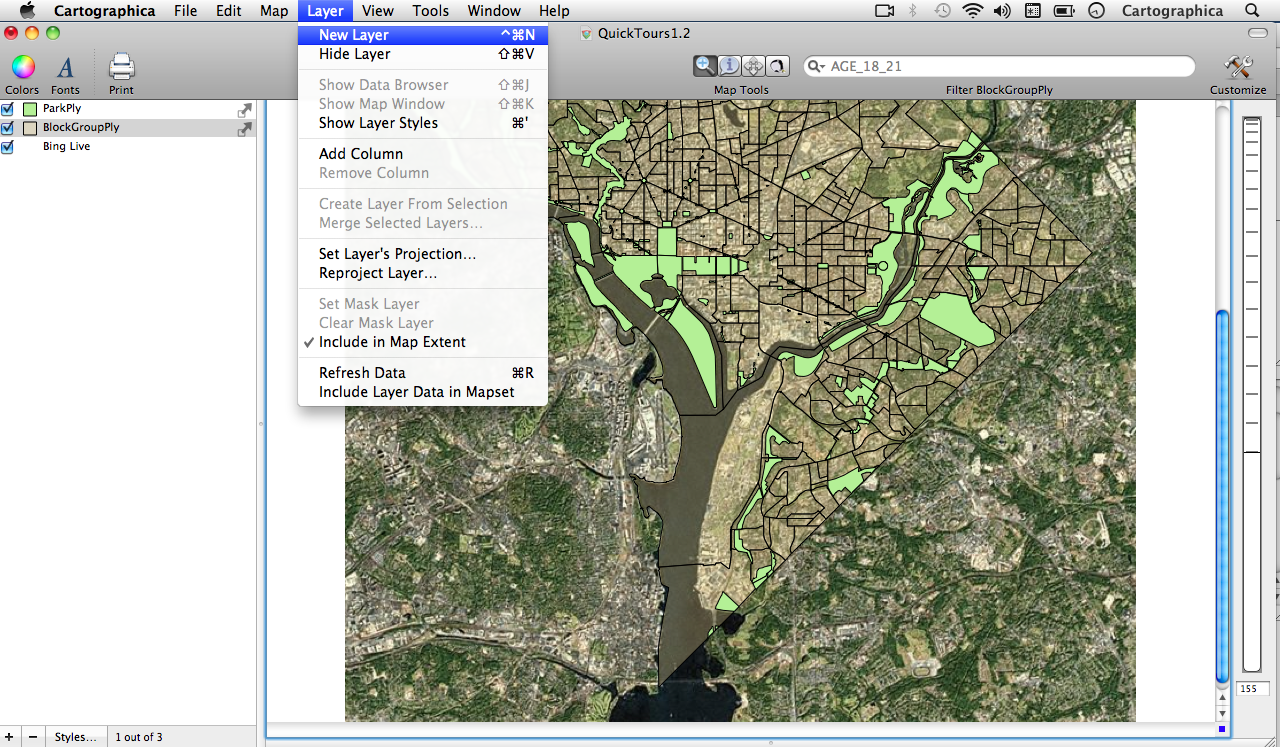
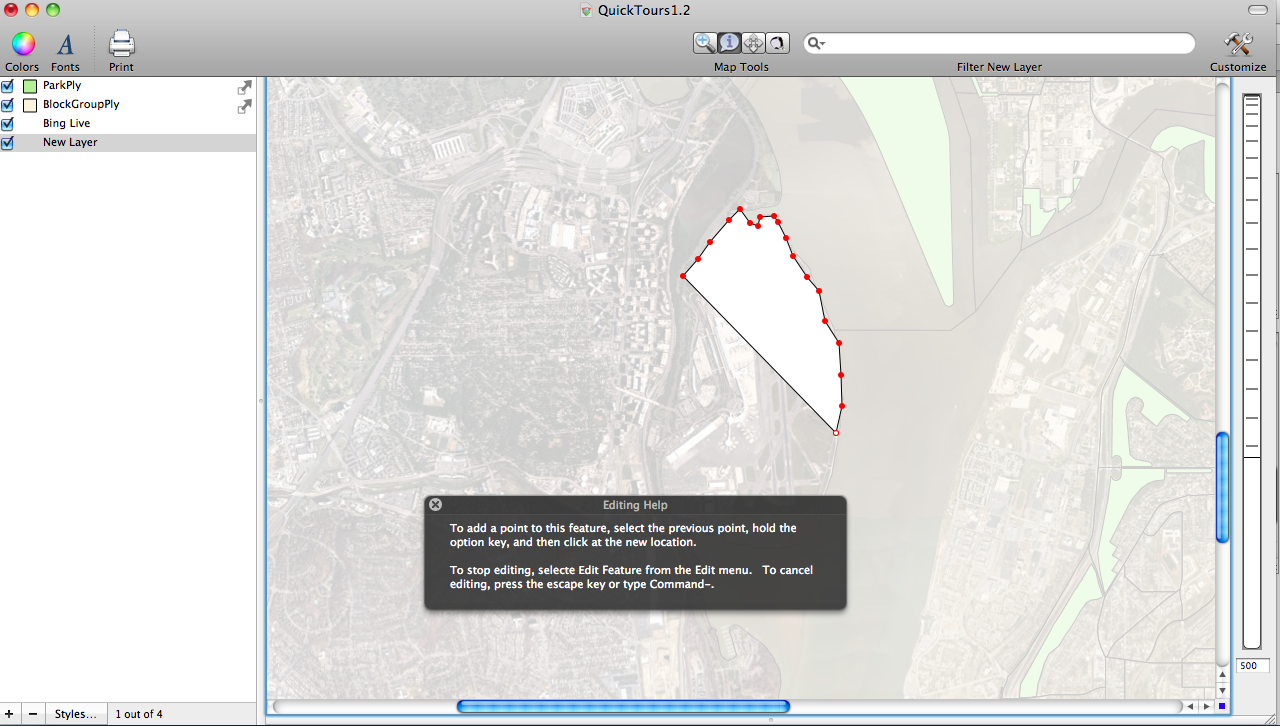
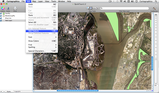
The next step is to Add the features to our map. Start by adding a new layer by choosing Layer > Add New Layer, or by clicking the + sign at the bottom of the layer stack. This process works by individually adding each element to the map. For our example this means that each runway was individually added to the map using the process of Edit > Add Feature, Trace the line across the runway by holding down the option key and then making to endpoints that connect to each other across the center of the runway, press Enter, and then repeat the process until each runway has been added. T he airport ground and structure were created by adding another new layer and then editing it as a polygon layer. The outline of the ground and the structure were traced using the following process. Choose Edit > Add Feature, trace the outline of the airport grounds, press the enter or return key (or Choose Edit > Add Feature) to stop editing. Next choose Edit > Add Feature again, trace the outline of the airport structure by holding down the option key While adding point around the perimeter of the airport grounds, press Enter. We now have two new layers that we can call Airport and Runways.
-
Add New Layer\
-
Add Feature\
-
Image showing the Editing Process\
-
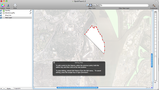
The final step is to display our final output showing the Ronald Reagan Washington National Airport\