- Wed 04 July 2012
- Cartographica
- Rick Jones
- #georeference, #raster
According to a recent article on Burrito Justice, during the Cold War the Russian government spent a lot of time and effort to create detailed maps of the many places in the world as potential targets for their military. The maps detail many different aspects such as elevation, water ways, and even streets that would be passable by tanks and other military vehicles. Now that the Cold War is over we can talk about the absurdity of it all and enjoy the hard work that the Russians put forth to make a series of really nice maps.
The best location to find these maps for download are at maps.vlasenko.net. There are options to download maps at five different scales 1:50000, 1:100000, 1:200000, 1:500000, 1:1000000. The difficulty with finding the right map is that there is no good reference map for determining where the listed maps are located in the world. The author of the Burrito Justice article mentions that the 1:200000 map filed as J-10-22 is the San Francisco Bay area. So to use the same map in Cartographica, I downloaded the map, and then did some work georeferencing the image for use with Cartographica.
To georeference an image the first step is to add a base map to compare the raster file to. For this, I used the Live Maps available in Cartographica. Choose File > Add Live Map to perform this action.
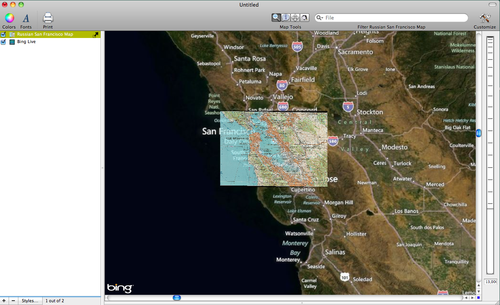
Next, Zoom in to the San Francisco Bay area. Next, Choose File > Import Raster Data. This will import the downloaded map of San Francisco. Notice there is a yellow triangle next to the raster file in the Layer Stack. This indicates that the layer is missing a coordinate reference system. You should see the window below after you import the raster data and click on the yellow triangle.

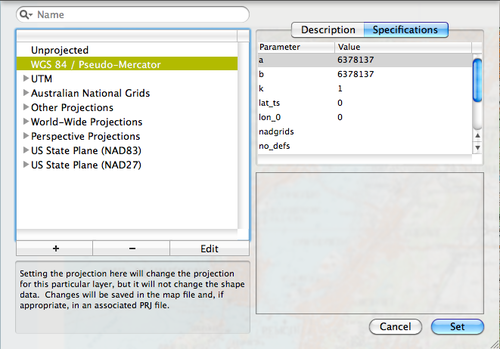
To set the coordinate reference system click on Set CRS. Because the Live Map is in the WGS84 Pseudo Mercator CRS we want to match the Russian raster file to the same CRS. To do this select the WGS84-Pseudo Mercator CRS and then click on the Set button. See the following image for an example.
Next, choose Layer > Include in Map Extent. This will allow you to see the entire Live Map rather than focusing only on the recently added Raster data (which right now isn't in the right place).
Next, zoom in to the San Francisco Bay area using the zoom tool. Once you have zoomed in in to the San Francisco Bay area click on the Russian San Francisco layer in the layer stack and then choose Edit > Georeference Image. The Georeferencing panel will appear.
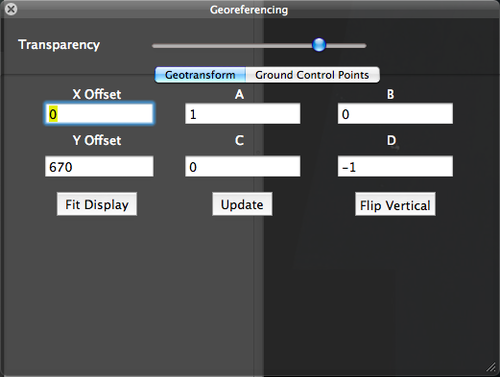
Click on Fit Display to automatically move and resize the imported San Francisco map to the San Francisco Bay area that we have just zoomed to. Next, click on Flip Vertical to flip the raster image upright. The image below shows about what your map should look like.
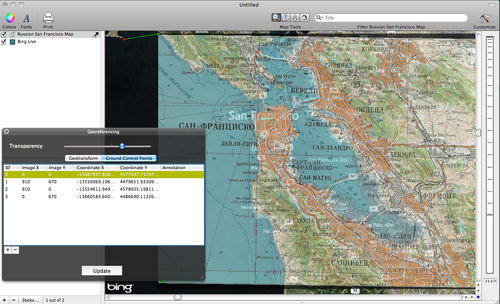
Next, we can use the Ground Control Points to adjust to location of the Russian map to the underlying Live Map that we are using as reference. To do this, click on the Ground Control Points tab and the move the points to locations that help match the Russian map to the Live Map.
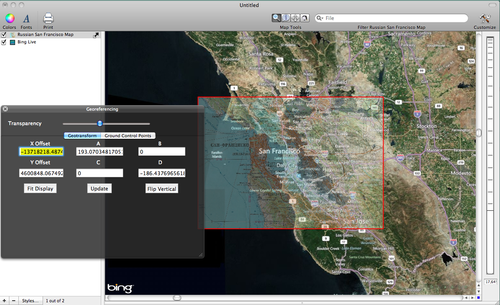
Hint: While doing this focus on geographic features that are easily identified and match them up. San Francisco has a unique peninsula shape which is easy to see, but also there are many bridges and coast lines to help make the georeferencing process as accurate as possible. Also, as you attempt to match the two layers adjust the layer transparency so that you can get clear looks at what you are matching up. See the image below for the more accurately placed Russian Map.
Once you have the map accurately placed you're finished! See a my final map below.