- Tue 11 May 2010
- Tips and Tricks
- Rick Jones
Cartographica 1.2 offers a new user interface for creating choropleth maps, which includes more advanced color palette options and a new Jenks classification for displaying categories of data on your map. This post highlights the new process for creating choropleth maps and talks about some of the advantages of the new user interface.
In order to create a choropleth map follow the steps listed below...
In the example, we are using data collected from the Washington D.C. GIS Data Catalogue, which includes city block groups with 2000 census data on demographic characteristics. In the example we are going to map the population of each block group. We want to divide the population of the block groups into 7 categories
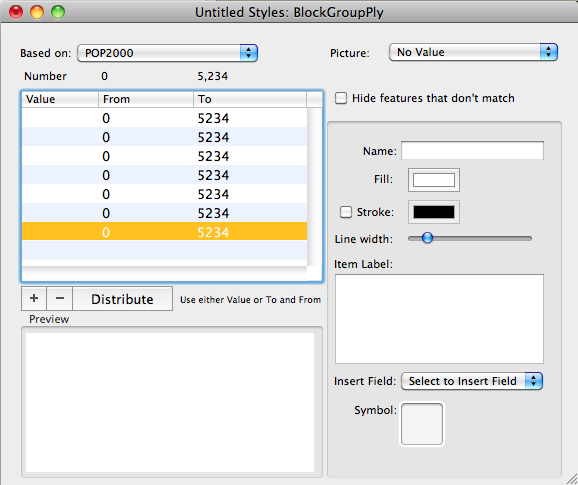
Bring up the Style window for the target layer

Select the field that you are interested in (POP2000) and click on the "+" button in the window seven times in order to create the number of categories needed for the example.
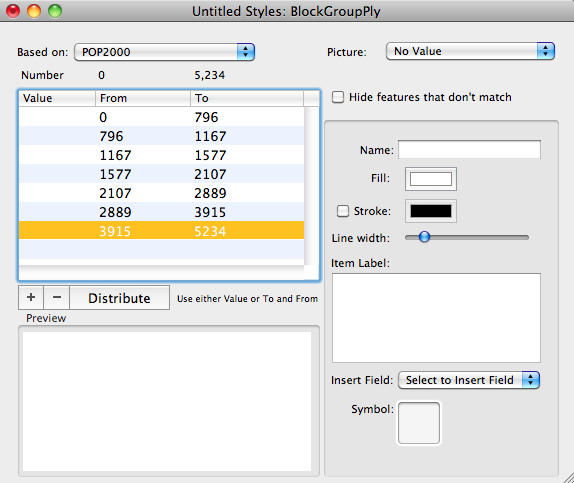
Click the distribute button (this used to do a straight-line distribution, but now uses Jenks Natural Breaks)
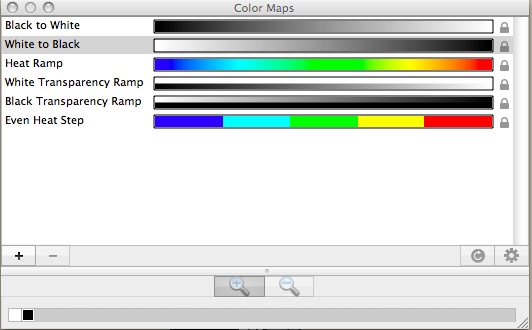
The final step is identifying each newly reclassified category with a unique color so that it can be represented on the map. The best way to to do this is go to Window and then Show Color Palettes and then drag and drop the color ramp onto the Block Group layer. This will assign the color ramp to the seven categories in order from the lowest category to the highest. Also users should note that they can create unique color ramps while working inside of the Color Palette Window.

If you want more colors, it's easy to add more either manually, or you can use ColorBrewer 2 (Flash required) to choose a palette of colors, click on the export button to bring up the text with the colors in it, copy those and then paste directly into the Color Palette window and a new palette will be created. You can then drop that right on your style list and it'll change the colors.